


Does your dining table look plain? Or your coffee table looks like it needs something? Well, it needs a placemat! Table mats or placemats may be a small detail, but they add so much character and texture to a table, and ultimately set the vibe of the entire place.
Now, you don’t need to spend a lot of money just to have a placemat that matches your style; you can make it yourself! Whether you want a pop of color for a summer brunch or a sophisticated setting for a dinner party, handmade table linens are the answer.
In this guide, we will show you the easiest way on how to sew placemats!
Shapes & Sizing
For regular square and rectangular placemats, the standard is 12" x 18"; for formal settings, you can go up to 14" x 20". Round placemats usually go within 15" to 17" in diameter.
If you're basing the placemat sizes based on a table’s seating capacity, here are the recommended sizes:
- 2 seater (Bistro tables): 12" x 18"
- 4 seater: 12" x 18" or 12" x 12"
- 6 seater: 13" x 19"
- 8 seater or more: 14" x 20"
Fabrics
Choosing the right fabric is critical to make sure that your DIY placemats last long and will serve their purpose.
- 100% Cotton: Recommended for beginners, easier to sew, highly absorbent, and comes in endless prints.
- Linen: Offers a sophisticated, high-end texture. It is naturally antibacterial and becomes softer with every wash, though it does require more ironing.
- Cotton Duck or Canvas: These are heavy-duty options. They provide excellent heat protection for wooden surfaces and hold their shape exceptionally well.
- Weight Fabrics: These are often treated to be stain-resistant, making them ideal for households with children.
Tools & Materials
Okay, now that you have a plan, time start prepping the things you need.
- Your fabric of choice
- Fabric shears or a rotary cutter
- Fusible interfacing
- Sewing machine or needles & thread
💡 Note: If you don’t have a sewing machine, you can definitely hand-sew your placemats. It would be easier if you chose a softer and more manageable fabric. For thick fabrics, use a bigger needle and thick threads.
Step 1: Measure & Cut
Grab your fabric, and use a pair of scissors or a rotary cutter to cut it. If you want a standard 12" x 18" mat, cut the fabric to 13" x 19"; this allows for a 1/2" seam allowance on all sides. Cut two pieces of the same size.

💡 Tip: Use a paper guide to ensure you have the correct shape. Cut a piece of paper to the size of your placemat. Lay the fabric on a flat surface and place the paper guide on top. Pin the edges of the paper on the fabric, then cut the fabric following the shape of the paper. You can also use the same guide to cut the interfacing.
Step 2: Applying Interfacing
Iron your fusible interfacing to the back side of one of your fabric pieces. This provides the necessary structure to protect your table.
Step 3: The Sewing Process
Grab the fabric and lay it together. Make sure that the patterns on both sides are aligned. Pin or clip around the edges, then sew around the perimeter with a 1/2" seam, leaving a 4-inch gap on one of the long sides for turning.

Step 4: Turn & Press
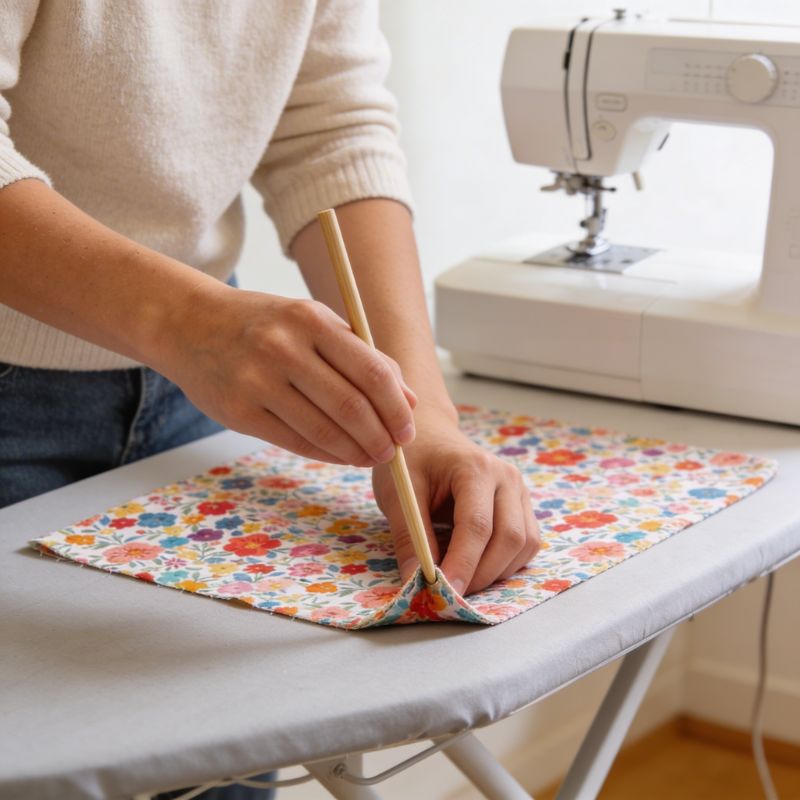
Cut the excess fabric on the corners and edges, then pull the fabric right-side out. Use a blunt tool to push the corners out until they are crisp. Press the entire mat flat with a steam iron.

Step 5: Topstitching
To close the gap and add a professional touch, sew a "topstitch" 1/8" from the edge around the entire placemat. And you're done!
If you want to make a coaster as well, just cut smaller fabrics and follow the same steps!
Care & Maintenance: How to Make Your DIY Placemats Last Longer
The first thing we want for our DIY projects is for them to last long, and the secret to that is proper care and maintenance. To do so, here are some things that you should know.
- Wash gently: For machine washing, use the delicate cycle, and only use cold water. It's still best to handwash them and carefully remove the stains with a soft brush.
- Dry with care: After washing, you can hang them outside or lay flat on a table to air-dry, and don’t expose it in direct sunlight (the colors will fade easily). For machine drying, tumble dry on low heat.
- Wrinkle removal: A quick hit with a steam iron will remove any wrinkles from storage.
- Storage: Store them flat in a drawer or roll them up to avoid sharp creases.
By doing so, you can stretch the lifespan of your handmade placemats.
If you want something more durable, you can try woven placemats, its sturdier and require less maintenance than fabric.
Pre-Made Options: Placemats & Tablecloth from Cozylace
Creating a placemat is fun, but sewing one can take a lot of time. And sometimes, a special occasion calls for a level of detail that is difficult to achieve by hand. If you want to layer your DIY mats or prefer a classic look, these pre-made lace options from CozyLace offer stunning craftsmanship:
Handmade Tablecloth
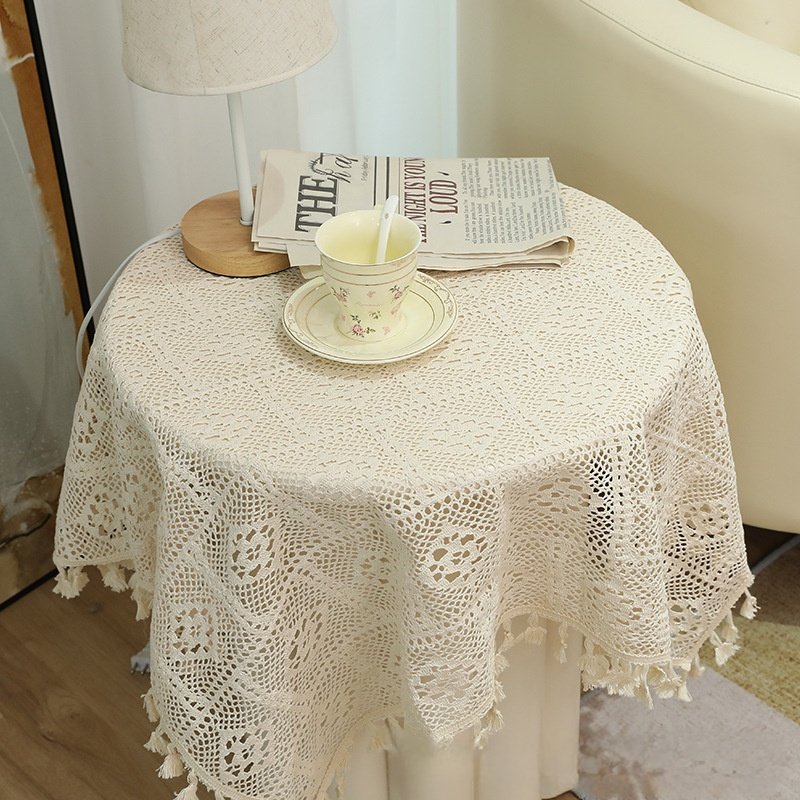
White Vintage Tablecloth

Elegant White Tablecloth

Rectangular & Round Mat

Oval Tea Table Mat
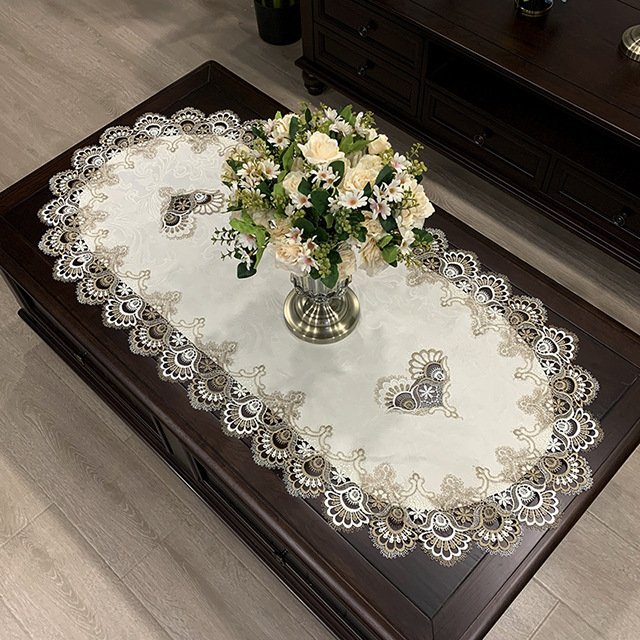
Embroidered Placemat

Beige Lace Table Mat

Translucent Tablecloth

Oval Table Mat

Final Thoughts
Handmade or pre-made, placemats really make a difference. As mentioned, it sets the tone and brings a certain aura to an area.
Do you have an upcoming gathering and need placemats to decorate? Try out this simple guide now and create your own. Or, if you want placemats and tablecloths with more details, shop our featured collection now!


